Homemade Strawberry Jam Recipe
Few things rival the taste of homemade strawberry jam rich, fruity, and bursting with the natural sweetness of ripe strawberries. Unlike store-bought varieties that are often packed with preservatives or artificial ingredients, making strawberry jam from scratch allows you to enjoy pure flavor, just as nature intended. Whether you’re a seasoned home cook or new to preserving, this strawberry jam recipe is simple, satisfying, and requires only three main ingredients: strawberries, sugar, and lemon juice. No added pectin is needed!
Strawberry jam can brighten your morning toast, complement yogurt or oatmeal, or serve as a delectable filling for baked treats. It’s also a heartfelt gift for family and friends.
In this guide, you’ll learn everything from the equipment you need to step-by-step instructions, variations, and tips to perfect your batch every time.
Essential Tools to Make Strawberry Jam
To ensure a smooth jam-making experience, gather the following kitchen tools:
- Large heavy-bottomed saucepan or Dutch oven
- Potato masher or fork
- Long-handled wooden spoon or silicone spatula
- Measuring cups and spoons
- Citrus juicer (for fresh lemon juice)
- Ladle
- Canning jars with lids and rings (sterilized)
- Canning funnel (optional, but helps avoid mess)
- Clean towels
- Water bath canner or large stockpot (for sealing jars, optional if storing in the fridge/freezer)
- Candy thermometer (optional for checking gel stage)
What Do You Need to Prepare Strawberry Jam?
Here’s a short and sweet ingredient list for this classic strawberry jam recipe:
- Fresh strawberries – 2 pounds (about 900g), hulled and halved
- Granulated sugar – 4 cups (800g)
- Fresh lemon juice – 1/4 cup (about 60ml)
That’s it! No pectin required. Strawberries naturally contain pectin, and lemon juice enhances it, helping your jam gel beautifully.
How to Make Easy Strawberry Jam – Step-by-Step ?
Step 1: Prepare the Strawberries
Start by washing the strawberries thoroughly under cold water. Hull them (remove the green tops), and cut any large berries in halves or quarters. You should end up with about 4 cups of prepared fruit.
Step 2: Mash the Berries
In a large bowl or directly in your saucepan, mash the strawberries using a potato masher or fork. You can leave a few chunky pieces if you like some texture in your jam, or mash completely for a smoother consistency.
Step 3: Combine Ingredients
Transfer the mashed strawberries to a heavy-bottomed saucepan. Add the sugar and fresh lemon juice. Stir the mixture to combine, then let it sit for about 10 minutes. This allows the strawberries to release their juices and the sugar to dissolve slightly.
Step 4: Cook the Jam
Place the saucepan over medium-high heat and bring the mixture to a boil, stirring frequently. As the jam begins to boil, reduce the heat to medium and simmer. Continue stirring regularly to prevent scorching.
As it cooks, the jam will start to thicken. This usually takes 20 to 30 minutes. You’ll notice it starts bubbling more thickly and slowly.
If you’re using a candy thermometer, the jam should reach 220°F (104°C) to ensure proper gel formation.
Step 5: Test for Doneness & Jar the Jam
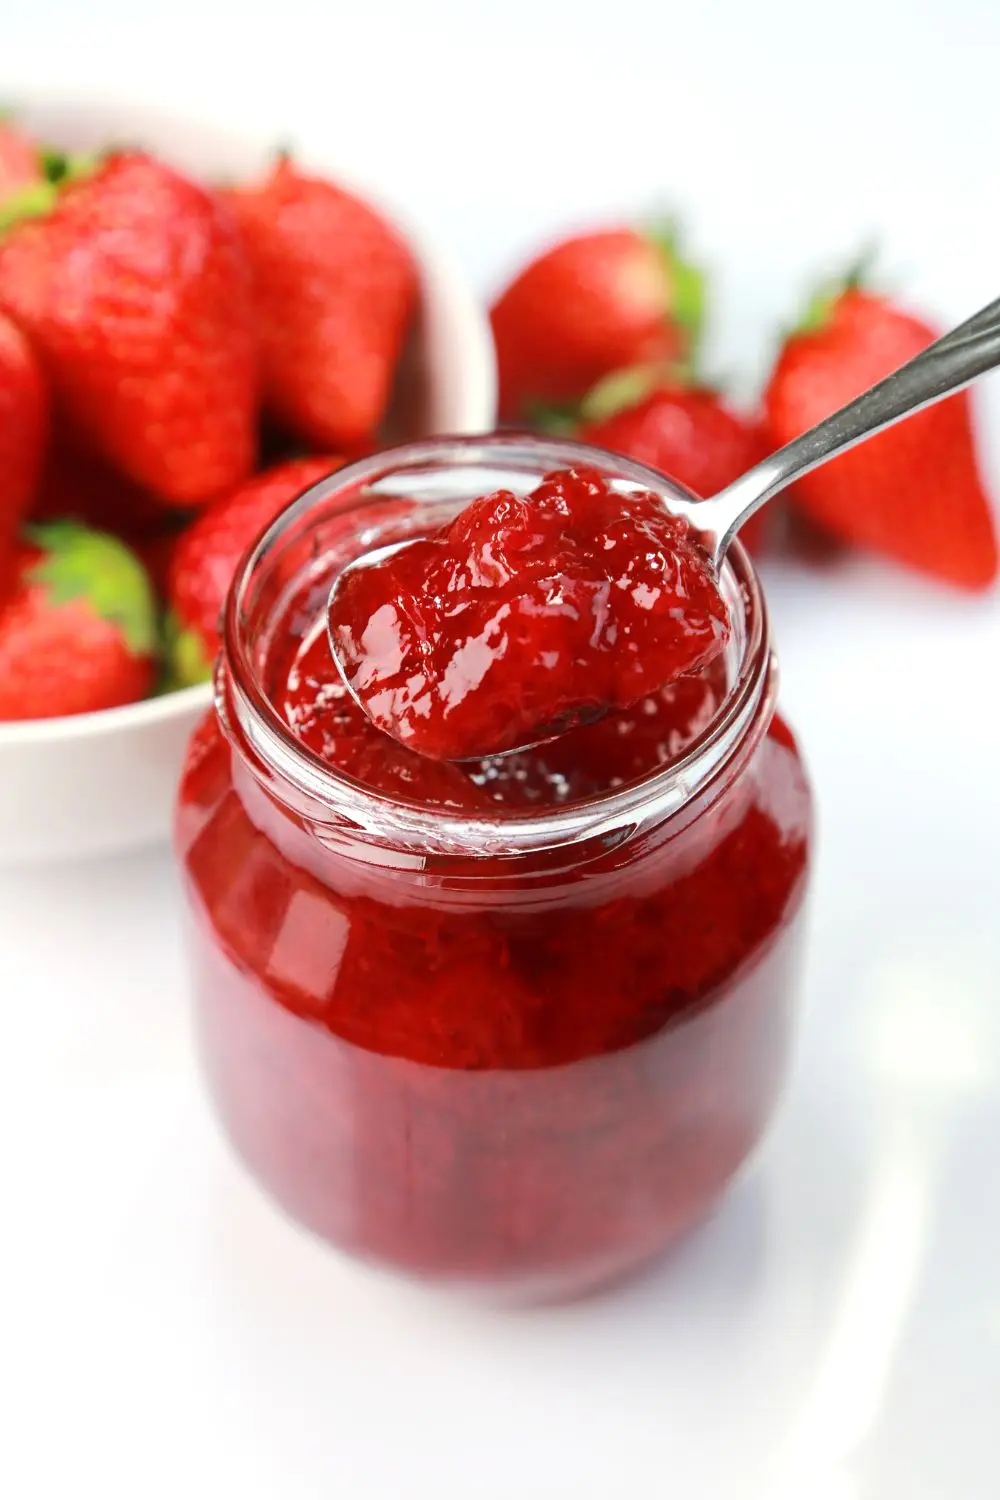
To test if your jam is ready, place a small spoonful on a chilled plate. Wait 1 minute, then run your finger through it. If it wrinkles slightly and doesn’t flood back together, it’s done.
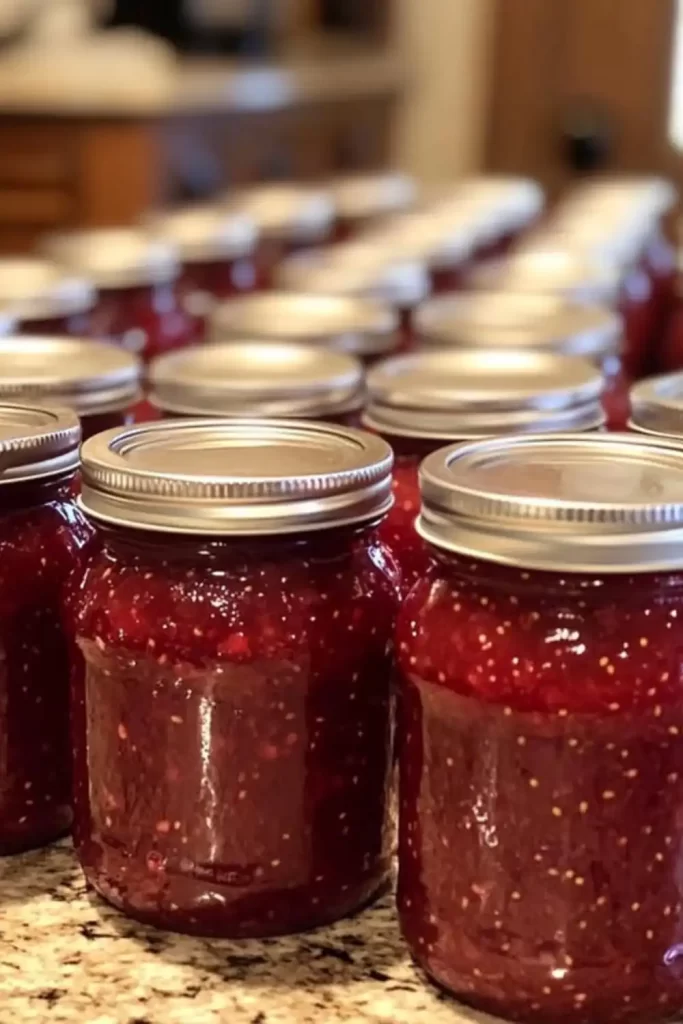
Remove the jam from heat. Skim off any foam from the top (optional). Ladle the hot jam into sterilized jars, leaving about 1/4-inch headspace. Wipe the rims clean, seal with lids, and let cool to room temperature.
If you plan to store your jam long-term, process the jars in a water bath for 10 minutes.
Strawberry Jam Variations
This base strawberry jam recipe is versatile and can be modified to suit your taste or to take advantage of what you have on hand. Here are some delicious variations:
- Vanilla Strawberry Jam: Add 1 teaspoon of pure vanilla extract or half a vanilla bean during cooking to add depth and warmth.
- Strawberry Basil Jam: Finely chop a few fresh basil leaves and stir them in during the last 5 minutes of cooking. The herby notes pair wonderfully with strawberries.
- Spiced Strawberry Jam: Add a pinch of ground cinnamon or a dash of ground ginger for a cozy twist. A bit of clove or cardamom can also add a subtle warmth.
- Mixed Berry Jam: Combine strawberries with raspberries, blueberries, or blackberries. You can do equal parts or adjust to your liking.
- Honey-Sweetened Jam: Replace part of the sugar with honey for a more natural sweetness. Use 3 cups sugar + 1/2 cup honey as a starting point.
Experiment with flavors, but remember to maintain the acid balance (lemon juice) for safe preservation and proper gelling.
Cooking Notes
Cooking strawberry jam is part art, part science. Here are some key notes to keep in mind:
- No pectin needed: Strawberries, especially when cooked with lemon juice, naturally contain enough pectin to gel. However, it may take a little longer than a pectin-added recipe.
- Watch your heat: Keep an eye on the temperature. Too high and you risk burning; too low and the jam won’t set properly.
- Foam: White foam often forms on the surface while boiling. You can skim it off for a clearer jam, but it’s harmless.
- Jam thickness: Jam continues to thicken as it cools. Don’t overcook it trying to get the perfect gel in the pot.
- Preserving: If canning, always use sterilized jars and lids to prevent contamination. Process in a boiling water bath for long-term shelf storage.
Trust your senses. The jam should look glossy and feel thickened as it simmers. If you prefer a loose jam, cook for less time. If you like it firm and spreadable, give it those extra few minutes.
Serving Suggestions
Strawberry jam is incredibly versatile and can enhance both sweet and savory dishes. Try these ideas:
- Spread on toast, muffins, or biscuits for a bright, sweet start to your day.
- Swirl into yogurt or oatmeal for a burst of fruit flavor.
- Use as a cake filling or tart base—especially in layered sponge cakes or thumbprint cookies.
- Pair with cheese: Try it on a cheese board with brie, goat cheese, or aged cheddar.
- Glaze roasted meats: Warm a bit of jam and brush it on pork or chicken for a fruity glaze.
- Fill pastries and doughnuts: Jam makes the perfect gooey center for baked goods.
Whether it’s breakfast, dessert, or even dinner, strawberry jam adds a bright, tangy-sweet punch to any dish.
Helpful Tips
- Choose ripe, fragrant strawberries: The better your berries, the better your jam.
- Don’t skip the lemon juice: It’s crucial not just for flavor, but for helping the jam gel and preserving it safely.
- Sterilize jars properly: Boil jars and lids for 10 minutes before filling. This prevents bacteria and ensures long shelf life.
- Label and date your jars: Especially if gifting or storing for months. Homemade labels add a personal touch.
- Allow to rest: Let the jars sit at room temperature for 12-24 hours after sealing to ensure they set fully.
- Avoid over-stirring: Once the sugar dissolves, stir gently to avoid breaking down the fruit too much.
- Make in small batches: Don’t double the recipe unless you have experience. Large batches can cook unevenly and be harder to gel.
- Use a wide saucepan: A broader surface area allows for faster evaporation and better thickening.
Following these tips ensures your jam is flavorful, safe, and satisfying every single time.
Tips for the Best Strawberry Jam
- Use fresh, in-season berries for peak sweetness and flavor.
- Don’t overcook—excess cooking can darken color and ruin texture.
- Use a candy thermometer for precision, or the cold plate test to gauge doneness.
- Add sugar slowly and stir until dissolved to avoid gritty texture.
- Allow jam to cool in jars before refrigerating or moving. It thickens as it sets.
- For clear jam, skim off foam during cooking or add a small pat of butter (optional).
- Avoid aluminum cookware, which can react with the acidity and discolor the jam.
- Practice patience: Homemade jam requires attention and time—but the results are so worth it.
Timing Overview
- Prep Time: 15 minutes
- Cooking Time: 30 minutes
- Total Time: 45 minutes
Nutritional Information (per tablespoon serving)
Calories: 50
Protein: 0g
Sodium: 1mg
Related Recipes :
- Baked Brie in Bread Bowl Recipe
- Easy Blueberry Cream Cheese Danish Recipe
- Fig and Goat Cheese Pinwheels Recipe
- Cottage Cheese Egg Bake Recipe
- Buffalo Chicken Cheesesteak
- Old School Pizza Burgers Recipe
FAQs
1. Can I use frozen strawberries for jam?
Yes, you can. Just thaw and drain them first to remove excess water. The cooking time may be slightly longer.
2. How long does homemade strawberry jam last?
Properly canned and sealed, it can last up to a year in a cool pantry. Once opened, refrigerate and consume within 3 weeks.
3. Why didn’t my jam set?
It may not have cooked long enough or reached the right temperature. Try reboiling it with a bit more lemon juice if necessary.
4. Can I reduce the sugar in this recipe?
Yes, but sugar helps with preservation and texture. Reducing it too much may lead to a looser jam or shorter shelf life.
5. Is pectin necessary?
Nope! This recipe relies on natural fruit pectin and acidity from lemon juice.
Conclusion
Making homemade strawberry jam is a rewarding, nostalgic kitchen activity that delivers far more than a jar of sweetness it offers a taste of summer any time of year. With just a few ingredients, basic tools, and a bit of patience, you can craft a jam that rivals the best store-bought versions and carries your own unique touch.
Whether you’re spreading it on toast, gifting it to a friend, or spooning it over dessert, this strawberry jam recipe will become a cherished staple in your kitchen.
Now it’s your turn grab those ripe strawberries and get jamming!
Print
Homemade Strawberry Jam Recipe
- Total Time: 45 minutes
Ingredients
- Fresh strawberries – 2 pounds (about 900g), hulled and halved
- Granulated sugar – 4 cups (800g)
- Fresh lemon juice – 1/4 cup (about 60ml)
That’s it! No pectin required. Strawberries naturally contain pectin, and lemon juice enhances it, helping your jam gel beautifully.
Instructions
Step 1: Prepare the Strawberries
Start by washing the strawberries thoroughly under cold water. Hull them (remove the green tops), and cut any large berries in halves or quarters. You should end up with about 4 cups of prepared fruit.
Step 2: Mash the Berries
In a large bowl or directly in your saucepan, mash the strawberries using a potato masher or fork. You can leave a few chunky pieces if you like some texture in your jam, or mash completely for a smoother consistency.
Step 3: Combine Ingredients
Transfer the mashed strawberries to a heavy-bottomed saucepan. Add the sugar and fresh lemon juice. Stir the mixture to combine, then let it sit for about 10 minutes. This allows the strawberries to release their juices and the sugar to dissolve slightly.
Step 4: Cook the Jam
Place the saucepan over medium-high heat and bring the mixture to a boil, stirring frequently. As the jam begins to boil, reduce the heat to medium and simmer. Continue stirring regularly to prevent scorching.
As it cooks, the jam will start to thicken. This usually takes 20 to 30 minutes. You’ll notice it starts bubbling more thickly and slowly.
If you’re using a candy thermometer, the jam should reach 220°F (104°C) to ensure proper gel formation.
Step 5: Test for Doneness & Jar the Jam
To test if your jam is ready, place a small spoonful on a chilled plate. Wait 1 minute, then run your finger through it. If it wrinkles slightly and doesn’t flood back together, it’s done.
Remove the jam from heat. Skim off any foam from the top (optional). Ladle the hot jam into sterilized jars, leaving about 1/4-inch headspace. Wipe the rims clean, seal with lids, and let cool to room temperature.
If you plan to store your jam long-term, process the jars in a water bath for 10 minutes.
- Prep Time: 15 minutes
- Cook Time: 30 minutes
- Category: Breakfast
- Cuisine: Americans
Nutrition
- Calories: 50
- Sodium: 1mg
- Protein: 0g
Keywords: Homemade Strawberry Jam Recipe