How to Make Soft & Puffy Pita Bread at Home ?
Pita bread, a beloved Middle Eastern staple, is a soft, slightly chewy flatbread that puffs up during baking to create a pocket perfect for stuffing with savory fillings. This iconic bread is not only incredibly versatile but also surprisingly easy to make at home with a few basic ingredients. Whether you’re serving it with hummus, falafel, shawarma, or turning it into pita chips, the magic of warm, freshly baked pita is irresistible.
In this recipe, we will walk you through how to make pita bread from scratch with soft, puffy results just like you find in authentic bakeries. You don’t need a tandoor or stone oven; a regular kitchen oven or skillet will do the trick!
Let’s dive into the world of homemade pita, where simple ingredients come to life.
🍽️ Recipe Preparation Equipment
Before you begin, gather the following kitchen tools to make the process smooth and efficient:
- Large mixing bowl
- Measuring cups and spoons
- Kitchen scale (optional but recommended)
- Whisk or wooden spoon
- Dough scraper or knife
- Clean kitchen towel or plastic wrap
- Rolling pin
- Cast iron skillet or baking sheet
- Stand mixer with dough hook (optional)
- Oven or stovetop
Having everything prepped will make this pita adventure enjoyable and mess-free.
🧂 What You Need to Prepare Pita Bread Recipe?
Here are the ingredients you’ll need for soft, fluffy pita bread. This recipe makes about 8 pitas.
Ingredients:
- 3 ½ cups (440g) all-purpose flour (or bread flour for chewier texture)
- 1 ½ teaspoons salt
- 1 tablespoon sugar (optional but helps browning)
- 2 ¼ teaspoons active dry yeast (1 packet)
- 1 ¼ cups warm water (about 110°F/45°C)
- 2 tablespoons olive oil (optional, for softer texture)
Optional for flavor:
- 1 teaspoon garlic powder
- 1 teaspoon dried herbs (oregano, thyme)
👩🍳 How to Make Easy Pita Bread Recipe Step-by-Step ?
Let’s walk through the full process of making pita bread in detail.
🥣 Step 1: Activate the Yeast
In a bowl, combine warm water, sugar, and active dry yeast. Stir gently and let sit for 5–10 minutes until the mixture becomes foamy. This step ensures your yeast is alive and will help the dough rise.
🍞 Step 2: Make the Dough
In a large mixing bowl, whisk together the flour and salt (and any herbs or spices, if using). Slowly pour in the yeast mixture and olive oil. Stir until a shaggy dough forms. Knead the dough by hand or using a stand mixer for 8–10 minutes until smooth and elastic.
⏳ Step 3: Let the Dough Rise
Place the dough in a greased bowl and cover it with a damp towel or plastic wrap. Let it rise in a warm area for 1–2 hours or until doubled in size.
🍪 Step 4: Divide and Shape
Once risen, gently punch down the dough and turn it out onto a floured surface. Divide into 8 equal pieces and shape each piece into a ball. Cover them with a towel and let rest for 10–15 minutes.
🍕 Step 5: Roll and Cook
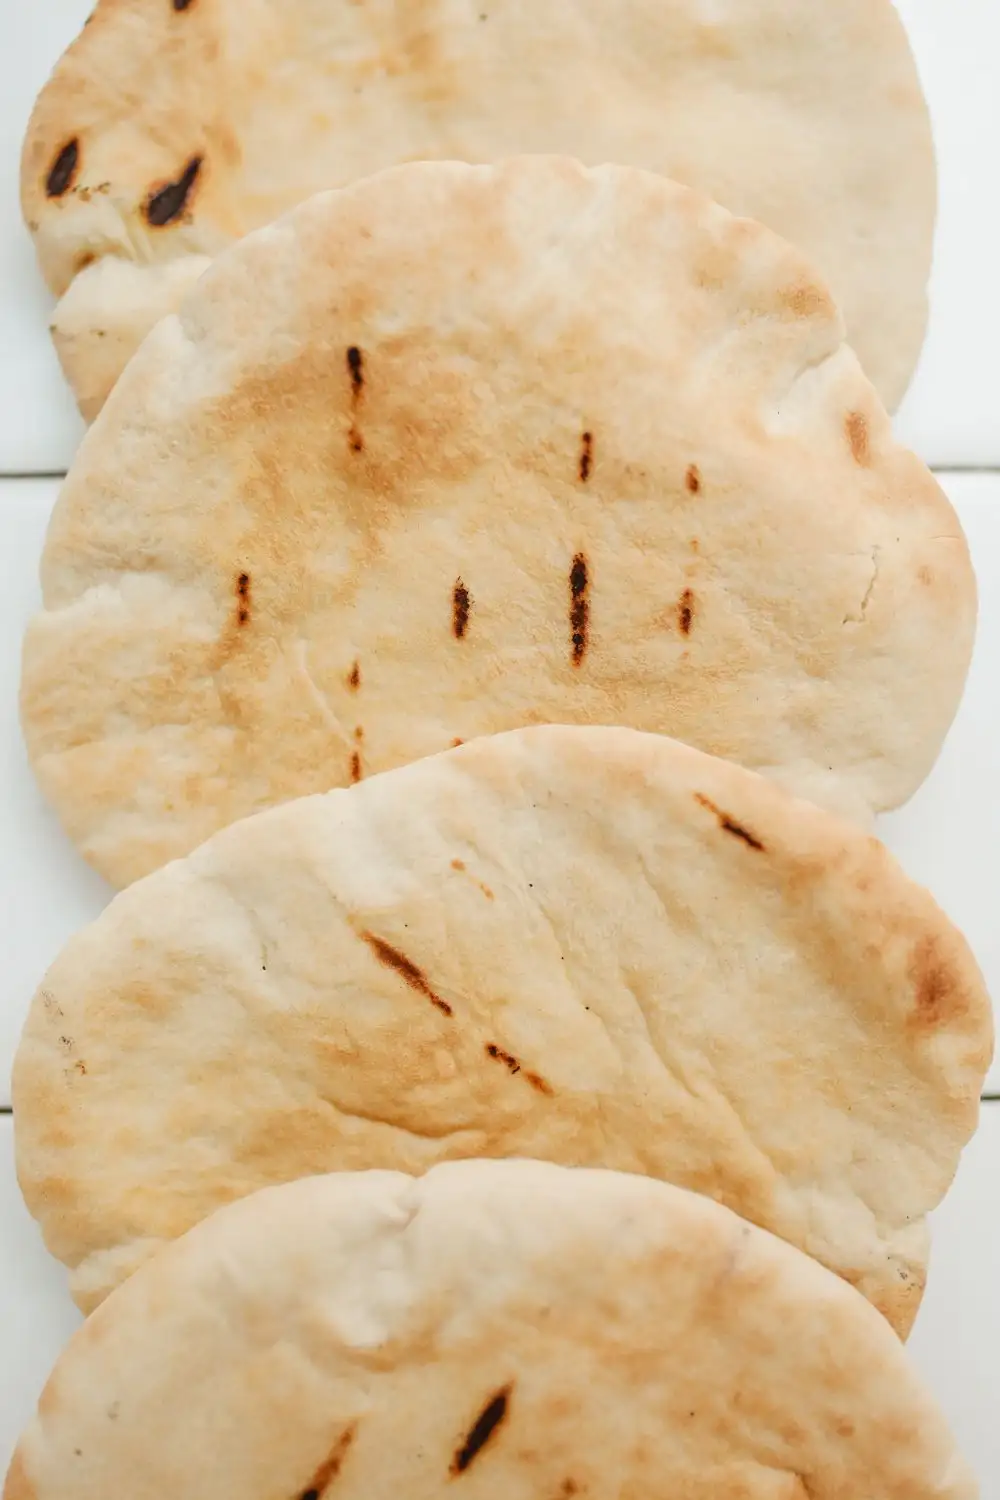
Roll each dough ball into a circle about ¼-inch thick. Preheat your oven to 475°F (245°C) or heat a cast iron skillet on high. Bake on a preheated baking sheet or skillet for 2–3 minutes per side until the pita puffs up and gets golden brown spots.
Let cool slightly and enjoy your warm homemade pita!
🧪 Variations
The traditional pita recipe can be easily customized to suit your taste and dietary preferences. For a whole wheat pita, substitute half of the all-purpose flour with whole wheat flour—this gives it a nuttier flavor and added fiber. You can also experiment with gluten-free blends, though results may vary in texture and puffing.
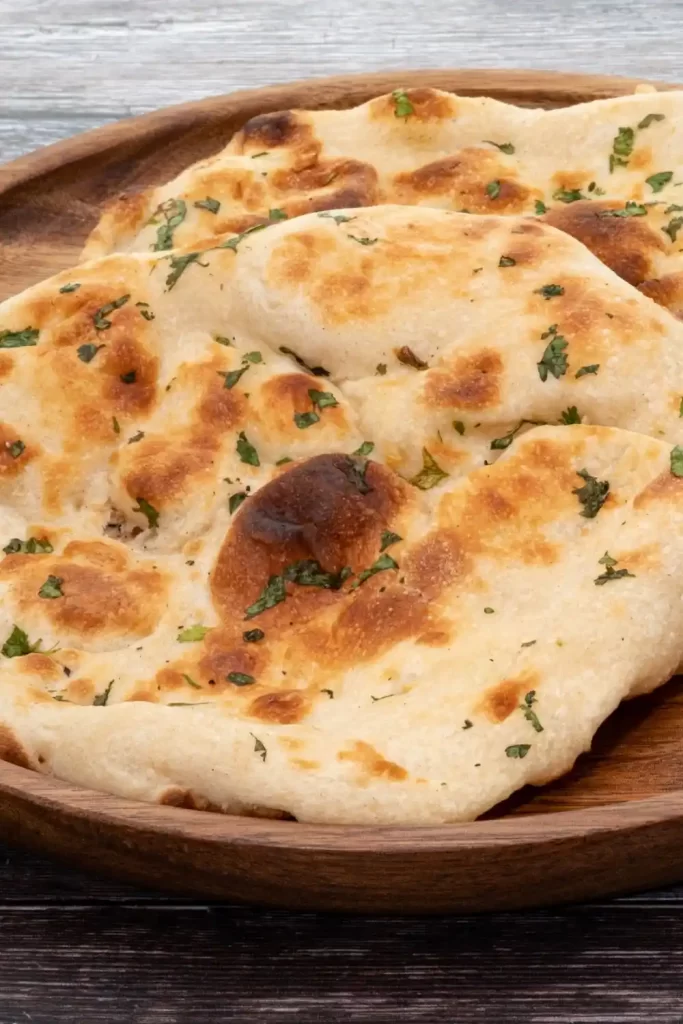
For a more aromatic twist, add spices like cumin or za’atar directly to the dough. Mixing in finely chopped garlic or roasted onion gives the bread a bold flavor, perfect for pairing with grilled meats or creamy dips.
If you’re looking for a richer, softer bread, replace the water with warm milk or add Greek yogurt to the dough for extra tenderness.
Craving crunch? Brush the pitas with olive oil and bake a little longer to turn them into crispy pita chips. These are ideal for snacking or serving with dips like baba ganoush.
🍳 Cooking Note
Consistency is key when making pita bread. The dough should be soft and slightly tacky, not sticky or dry. If it’s too sticky, add a little more flour; if too dry, add a spoonful of warm water. A well-kneaded dough builds gluten, which is essential for that iconic pocket to form during baking.
The oven or skillet needs to be very hot this is what creates the sudden steam inside the bread, causing it to puff. If the temperature is too low, the pita won’t rise properly and will turn out flat.
When baking, avoid overcrowding the oven or skillet. Give each pita enough space to puff fully. If using a baking stone or steel, preheat it for at least 30 minutes for best results.
After cooking, wrap warm pitas in a clean towel to keep them soft. If they cool uncovered, they may turn crispy. But don’t worry slightly crisp pita still tastes amazing!
🍽️ Serving Suggestions
Pita bread is incredibly versatile. Serve it warm with creamy hummus, spicy Muhammara, or rich baba ganoush for a classic appetizer. Stuff the pockets with falafel, grilled chicken, or lamb shawarma, topped with lettuce, tomatoes, onions, and tahini sauce for a full meal.
Slice it into wedges and bake until crispy for pita chips, perfect for dipping into salsa, guacamole, or artichoke dip. You can also use pita as a base for mini pizzas or even as a wrap for breakfast ingredients like scrambled eggs and avocado.
It’s an excellent accompaniment for soups and salads, making your meals more hearty and satisfying.
🔍 Helpful Tips
- Measure carefully: Use a kitchen scale if possible. Accuracy helps with consistent results.
- Warm environment for rising: Place the dough in a slightly warm oven (turned off) to rise if your kitchen is cold.
- Avoid over-flouring: Too much flour while rolling will prevent puffing. Use just enough to avoid sticking.
- Don’t skip the rest: Letting the dough balls rest before rolling makes them easier to shape and prevents shrinking.
- Roll evenly: Uneven thickness can lead to uneven cooking and poor puffing. Aim for even circles.
- Cook one at a time: If using a skillet, avoid crowding. One at a time ensures the proper heat for puffing.
- Wrap to store: Keep baked pita warm and soft by wrapping them in a clean towel immediately after cooking.
- Reheat smartly: Reheat pita in a hot skillet or oven for just a few seconds to regain freshness.
⭐ Tips for the Best Pita Bread Recipe
To make the best pita bread, start with high-quality flour and activate your yeast properly. Use warm water (not hot) to avoid killing the yeast, and give the dough enough time to rise and develop flavor.
The secret to a perfect pocket? A blazing-hot cooking surface. Whether using a cast iron skillet or oven, preheat it thoroughly. That initial burst of heat creates steam that inflates the dough and forms the pocket.
Rolling the dough to the right thickness about ¼ inch is also crucial. Too thick, and it may not puff; too thin, and it could tear.
Finally, cook each pita quickly, flip once, and wrap in a towel to trap steam and stay soft. These small steps make all the difference between flatbread and beautifully puffed pita.
⏱️ Timing Overview
- Prep Time: 20 minutes
- Rising Time: 90 minutes
- Cooking Time: 20 minutes
- Total Time: Approx. 2 hours 30 minutes
🥗 Nutritional Information (Per Pita)
- Calories: 165 kcal
- Protein: 5 g
- Carbohydrates: 32 g
- Fat: 2.5 g
- Sodium: 180 mg
- Fiber: 1.5 g
- Sugar: 0.5 g
❓ FAQs
Can I freeze pita bread?
Yes! Cool completely, wrap individually in plastic wrap, and store in a freezer bag. Reheat in the oven or toaster.
Why didn’t my pita puff up?
Common reasons include: low oven/skillet temperature, too thick dough, or uneven rolling.
Can I make it without yeast?
Yes, but the result will be more like flatbread than puffed pita. Use baking powder and rest the dough longer.
Can I cook pita in an air fryer?
It’s possible, but results vary. Use the highest temperature and preheat the basket. Monitor closely.
How long does homemade pita last?
Stored in an airtight container, it stays fresh for 2–3 days at room temperature or up to 1 week refrigerated.
🏁 Conclusion
Making pita bread at home is more than a recipe it’s a satisfying experience that connects you to a rich culinary tradition. With just a few simple ingredients, a bit of patience, and the right technique, you can enjoy warm, soft, puffy pita anytime.
Whether you’re dipping it in hummus, filling it with grilled meat, or toasting it into chips, homemade pita will elevate your meals with authentic flavor and irresistible texture.
Now that you know how to make it from scratch, there’s no turning back homemade pita is a game changer in your kitchen. Happy baking! 🫓