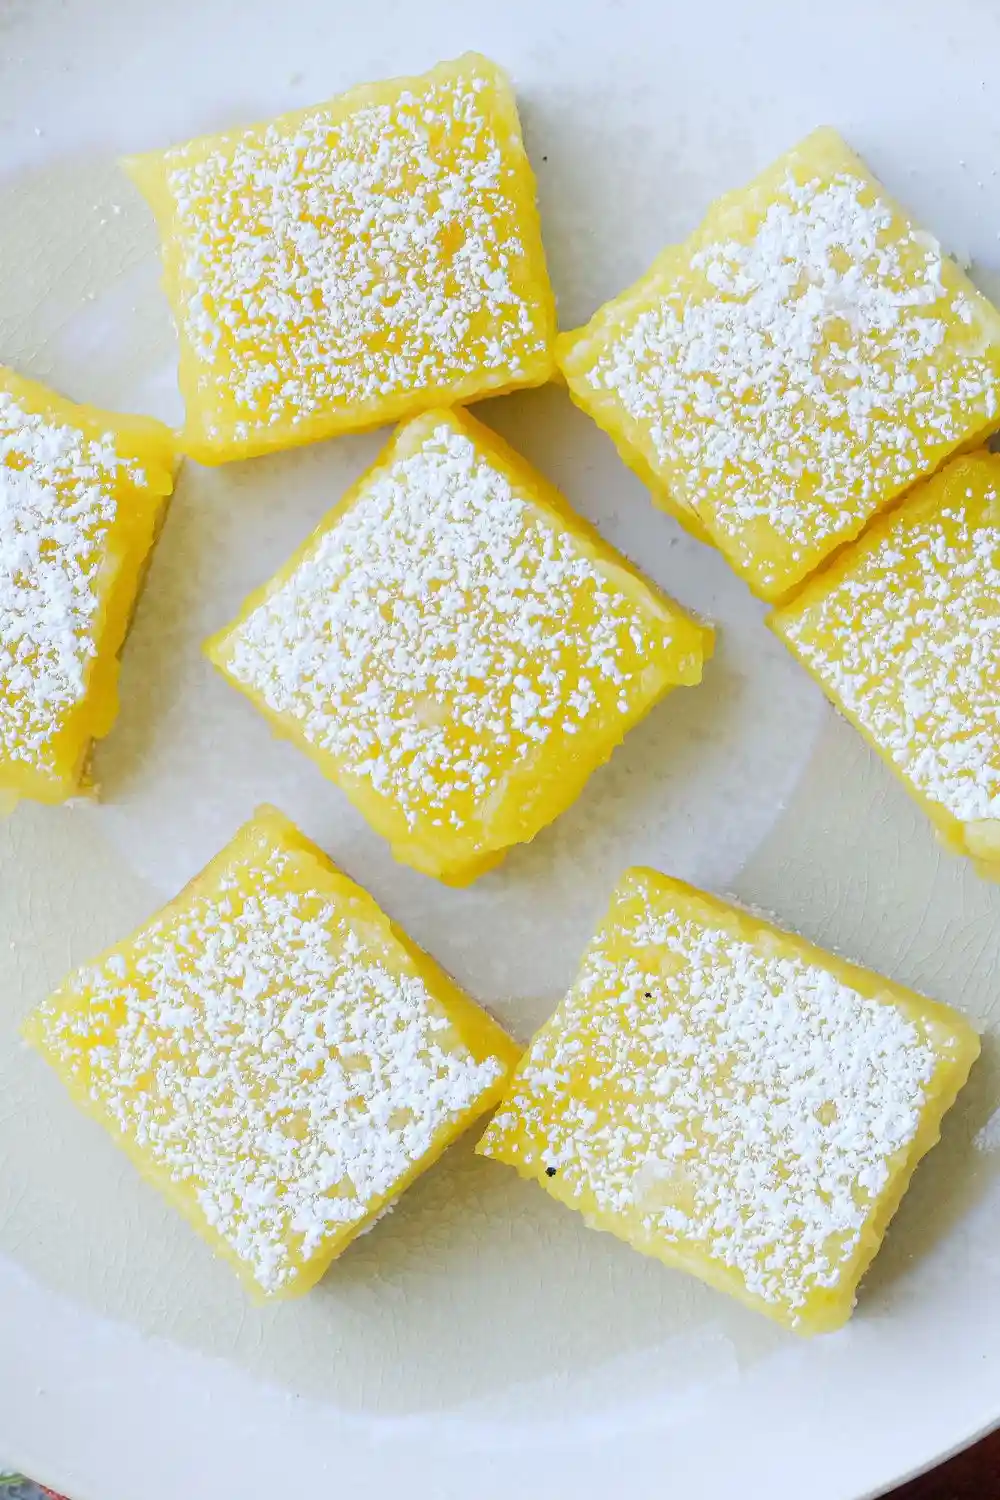
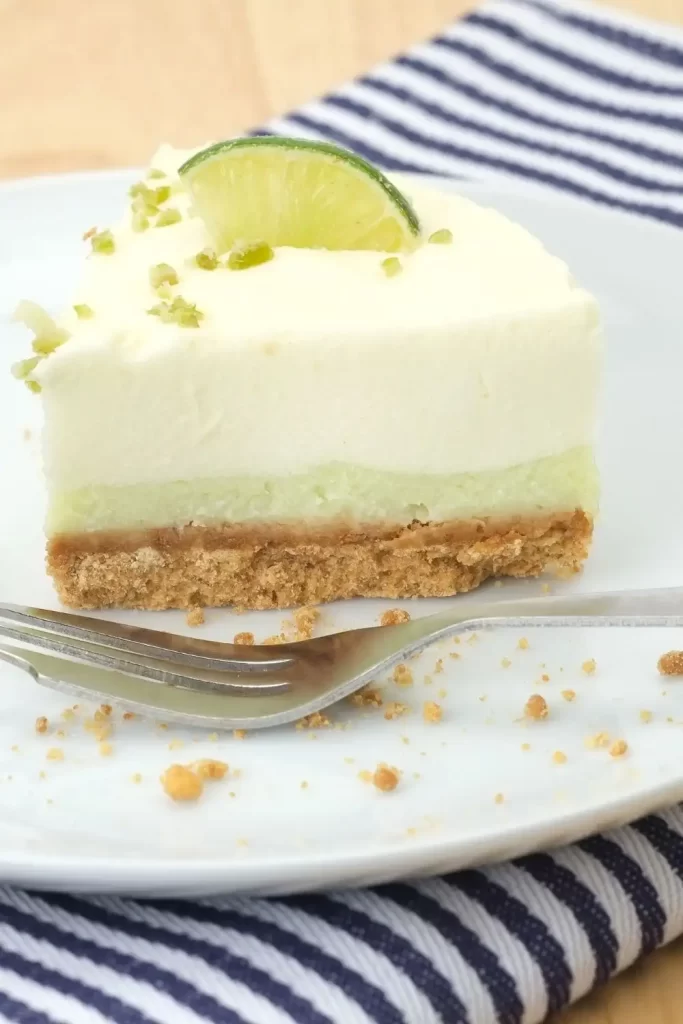
Best Key Lime Pie Bars Recipe
If you’re a fan of bright, citrusy desserts with a refreshing zing, key lime pie bars might just become your new favorite treat. These delightful squares are the perfect combination of a buttery graham cracker crust and a rich, creamy key lime filling. Unlike the classic pie version, key lime pie bars are portable, bite-sized, and ideal for sharing at potlucks, picnics, or any gathering. Their vivid flavor makes them a standout dessert during warmer months, but they’re loved all year round.
The beauty of this dessert lies in its simplicity. With just a handful of pantry staples and fresh lime juice, you can whip up a dessert that tastes like it came straight from a bakery. These bars offer a balance of sweet and tangy, creamy and crunchy all packed into a neat, delicious square.
Whether you’re already a fan of key lime pie or looking to try something new and exciting, these bars are a refreshing and satisfying option. Keep reading to discover how easy it is to create a dessert that looks as good as it tastes.
💚 Why You’ll Love This Recipe?
There are countless reasons to fall in love with these key lime pie bars. Here are just a few:
- Bright and Tangy Flavor: The unmistakable citrus zing of key lime juice cuts through the richness of the filling, making every bite refreshing and light.
- Easy to Make: With simple ingredients and a no-fuss process, this recipe is beginner-friendly and great for spontaneous baking.
- Crowd-Pleaser: These bars are universally loved and always disappear quickly at parties and gatherings.
- Perfect Texture: The combination of a crisp graham cracker crust and silky, custard-like filling creates a mouthwatering contrast.
- Make-Ahead Friendly: These bars hold up well in the fridge, making them a convenient dessert for prepping in advance.
- Portable: Unlike the classic pie, these bars are easier to slice, serve, and transport.
Whether you’re baking for a holiday, a casual dinner, or just because, key lime pie bars deliver flavor and flair with minimal effort.
🛒 What You’ll Need to Make Key Lime Pie Bars ?
For the Crust:
- 1½ cups graham cracker crumbs
- ⅓ cup granulated sugar
- ½ teaspoon ground cinnamon (optional)
- 6 tablespoons unsalted butter, melted
For the Filling:
- 4 large egg yolks
- 1 can (14 ounces) sweetened condensed milk
- ½ cup key lime juice (fresh preferred, or bottled key lime juice)
- 1 tablespoon lime zest
- Pinch of salt
For Garnish (Optional):
- Whipped cream
- Lime zest or thin lime slices
- Crushed graham crackers for topping
🧁 Directions: How to Make Easy Key Lime Pie Bars Step-by-Step ?
Step 1: Preheat and Prep
Preheat your oven to 350°F (175°C). Line an 8×8-inch baking pan with parchment paper, allowing extra to hang over the sides. This makes it easier to lift the bars out after baking.
Step 2: Make the Graham Cracker Crust
In a medium bowl, combine graham cracker crumbs, sugar, cinnamon (if using), and melted butter. Mix until the texture resembles wet sand. Press this mixture firmly into the bottom of your prepared pan, using the back of a spoon or the bottom of a measuring cup.
Step 3: Bake the Crust
Place the pan in the preheated oven and bake for 10 minutes. Remove and let it cool slightly while you prepare the filling.
Step 4: Whisk the Key Lime Filling
In a large bowl, whisk together the egg yolks until slightly thickened (1–2 minutes). Add the sweetened condensed milk and mix until fully incorporated. Then add the key lime juice, lime zest, and a pinch of salt. Stir until the filling is smooth and creamy.
Step 5: Pour and Bake
Pour the filling over the baked crust. Smooth the top with a spatula and bake for 15–18 minutes, or until the center is set but still jiggles slightly. The edges should be firm, and the top may have a few tiny bubbles.
Step 6: Cool and Chill
Allow the bars to cool to room temperature. Then transfer to the refrigerator and chill for at least 3 hours (overnight is best) to firm up.
Step 7: Slice and Serve
Using the parchment overhang, lift the bars out of the pan. Slice into squares using a sharp knife. Wipe the blade between cuts for clean slices. Garnish as desired with whipped cream, lime zest, or crushed graham crackers.
🌀 Variations
Key lime pie bars are delicious as-is, but there’s plenty of room to get creative:
- Add Coconut: Mix shredded coconut into the crust or sprinkle on top for a tropical flair.
- Make It Gluten-Free: Use gluten-free graham crackers to make the crust.
- Lemon or Orange Bars: Swap key lime juice with lemon or orange juice for a citrusy twist.
- Nut Crust Alternative: Use crushed almonds, pecans, or macadamia nuts in place of graham crackers for a nutty flavor and added texture.
- Chocolate Drizzle: A light drizzle of white chocolate adds elegance and pairs beautifully with the citrus.
- Mini Bars: Bake them in mini muffin tins for bite-sized party treats.
- Crustless Option: For a lighter version, pour the filling into ramekins and bake without a crust for a custard-like dessert.
No matter the variation, the essential creamy citrus flavor always shines through.
🍳 Cooking Note
While this dessert is relatively simple, a few key points ensure it turns out perfectly every time. First, when choosing your lime juice, fresh key lime juice provides the most authentic flavor, but bottled versions (like Nellie & Joe’s) are a convenient and delicious alternative. Avoid regular lime juice if possible, as the flavor is noticeably different.
Egg yolks are crucial for the rich, silky texture of the filling. Whisk them well to slightly thicken before adding other ingredients. This step helps bind the filling for a better set.
Baking times may vary slightly depending on your oven. You want the filling to set at the edges and be slightly jiggly in the center similar to cheesecake. Overbaking can lead to cracks or a rubbery texture.
Chilling the bars is non-negotiable. They need at least 3 hours to fully set and develop flavor. For clean slices, use a sharp knife and wipe it between cuts.
If you’re planning to transport or serve these at a warm-weather event, keep them chilled until serving to prevent softening.
These bars can also be made ahead and stored in the fridge for up to 5 days just be sure to keep them covered.
🍽️ Serving Suggestions
Key lime pie bars are versatile and can be dressed up or down depending on the occasion. Serve them chilled with a dollop of whipped cream and a sprinkle of fresh lime zest for an elegant presentation. For a party platter, arrange the bars in neat rows and garnish with tiny lime wedges or edible flowers.
Pair them with iced tea, sparkling water, or a fruity cocktail like a mojito or margarita for a refreshing combination. These bars also complement rich dishes, making them a great dessert after grilled seafood or spicy Mexican meals.
For a tropical theme, serve with coconut sorbet or alongside a fruit salad. During the holidays, add them to a dessert table for a zesty contrast to richer chocolate or caramel treats.
Whether it’s a casual picnic or a sophisticated dinner, these bars bring brightness and balance to any menu.
💡 Helpful Tips
To ensure your key lime pie bars turn out bakery-perfect, consider these helpful tips:
- Use Room-Temperature Ingredients: Egg yolks and condensed milk blend more smoothly at room temperature, preventing lumps.
- Use Parchment Paper: Lining the pan allows for easy removal and clean slicing. Leave an overhang for lifting the bars out.
- Pack the Crust Tightly: Use a measuring cup or flat-bottomed glass to firmly press the graham cracker mixture into the pan. This prevents crumbling.
- Don’t Overmix the Filling: Gently combine the ingredients to avoid incorporating too much air, which can cause bubbles or cracks.
- Chill Thoroughly: For clean cuts and the best texture, allow at least 3 hours of chilling time overnight is ideal.
- Sharp Knife for Slicing: A clean, sharp knife makes a big difference. Wipe it clean after each cut.
- Add Garnishes Just Before Serving: Whipped cream or fruit garnishes can melt or bleed color into the filling if added too early.
- Zest Before Juicing: It’s much easier to zest your limes before cutting them in half.
Follow these tips, and your key lime bars will look and taste like a professional dessert.
🥇 Tips for the Best Key Lime Pie Bars
To make the best key lime pie bars, focus on quality ingredients and precision:
- Choose Fresh Limes: Fresh key limes (or bottled key lime juice from trusted brands) offer unmatched flavor.
- Balance the Sweet and Tangy: Use the correct amount of lime juice to keep the bars bright but not overwhelmingly tart.
- Don’t Skip the Zest: Lime zest adds a deep, aromatic citrus flavor that enhances the entire dessert.
- Cool Before Chilling: Let bars reach room temperature before refrigerating to avoid condensation that can cause soggy crusts.
- Firm Crust = Clean Bars: Press the crust mixture tightly and pre-bake to avoid crumbs or cracks when slicing.
Little details like these elevate your dessert from homemade to gourmet.
⏱️ Timing Overview
- Prep Time: 15 minutes
- Cooking Time: 25 minutes
- Total Time: 3 hours 40 minutes (includes chilling time)
🧾 Nutritional Information (Per Serving – 1 of 12 bars)
- Calories: 220
- Protein: 3g
- Sodium: 105mg
- Carbohydrates: 28g
- Fat: 11g
- Saturated Fat: 6g
- Sugar: 22g
- Fiber: 0.5g
❓ FAQs
Q: Can I use regular lime juice instead of key lime juice?
A: Yes, but the flavor will be different. Key limes are more aromatic and slightly more tart than regular limes.
Q: How long do key lime pie bars last?
A: Stored in an airtight container in the fridge, they last up to 5 days.
Q: Can I freeze these bars?
A: Yes! Freeze sliced bars individually wrapped for up to 2 months. Thaw in the fridge before serving.
Q: Can I make this recipe gluten-free?
A: Absolutely. Just use gluten-free graham crackers for the crust.
Q: Can I double the recipe?
A: Yes, you can double the recipe and use a 9×13-inch pan. Adjust baking times slightly.
🧁 Conclusion
Key lime pie bars are a must-make dessert for anyone who enjoys a balance of sweet and tangy flavors. With a crisp graham cracker crust and a silky, citrusy filling, these bars are refreshing, rich, and perfectly portioned. They’re easy enough for beginner bakers but impressive enough for any celebration.
Whether you’re looking for a summer dessert, something unique for your holiday table, or a make-ahead treat that delights everyone this recipe delivers.
Keep a stash in the fridge and bring a bit of sunshine to your day with each bite. 🌞🍈
Print
Best Key Lime Pie Bars Recipe
- Total Time: 3 hours 40 minutes (includes chilling time)
Ingredients
For the Crust:
- 1½ cups graham cracker crumbs
- ⅓ cup granulated sugar
- ½ teaspoon ground cinnamon (optional)
- 6 tablespoons unsalted butter, melted
For the Filling:
- 4 large egg yolks
- 1 can (14 ounces) sweetened condensed milk
- ½ cup key lime juice (fresh preferred, or bottled key lime juice)
- 1 tablespoon lime zest
- Pinch of salt
For Garnish (Optional):
- Whipped cream
- Lime zest or thin lime slices
- Crushed graham crackers for topping
Instructions
Step 1: Preheat and Prep
Preheat your oven to 350°F (175°C). Line an 8×8-inch baking pan with parchment paper, allowing extra to hang over the sides. This makes it easier to lift the bars out after baking.
Step 2: Make the Graham Cracker Crust
In a medium bowl, combine graham cracker crumbs, sugar, cinnamon (if using), and melted butter. Mix until the texture resembles wet sand. Press this mixture firmly into the bottom of your prepared pan, using the back of a spoon or the bottom of a measuring cup.
Step 3: Bake the Crust
Place the pan in the preheated oven and bake for 10 minutes. Remove and let it cool slightly while you prepare the filling.
Step 4: Whisk the Key Lime Filling
In a large bowl, whisk together the egg yolks until slightly thickened (1–2 minutes). Add the sweetened condensed milk and mix until fully incorporated. Then add the key lime juice, lime zest, and a pinch of salt. Stir until the filling is smooth and creamy.
Step 5: Pour and Bake
Pour the filling over the baked crust. Smooth the top with a spatula and bake for 15–18 minutes, or until the center is set but still jiggles slightly. The edges should be firm, and the top may have a few tiny bubbles.
Step 6: Cool and Chill
Allow the bars to cool to room temperature. Then transfer to the refrigerator and chill for at least 3 hours (overnight is best) to firm up.
Step 7: Slice and Serve
Using the parchment overhang, lift the bars out of the pan. Slice into squares using a sharp knife. Wipe the blade between cuts for clean slices. Garnish as desired with whipped cream, lime zest, or crushed graham crackers.
- Prep Time: 15 minutes
- Cook Time: 25 minutes
- Category: Dessert
- Cuisine: Americans
Nutrition
- Calories: 220
- Sugar: 22g
- Sodium: 105mg
- Fat: 11g
- Saturated Fat: 6g
- Carbohydrates: 28g
- Fiber: 0.5g
- Protein: 3g
Keywords: Best Key Lime Pie Bars Recipe