Red Velvet Whoopie Pies

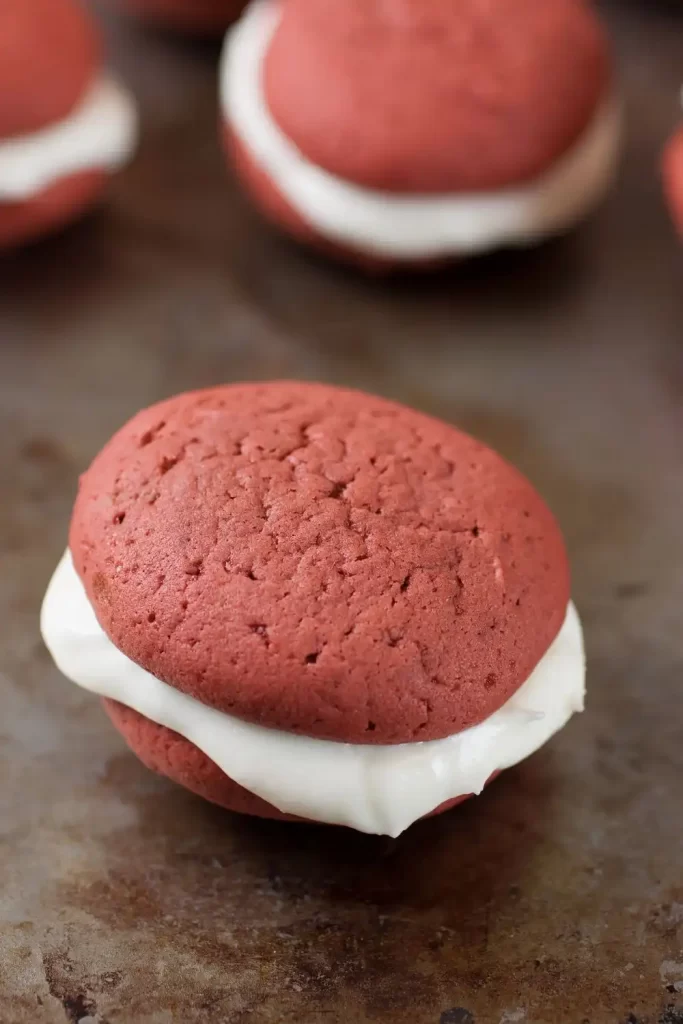
If you’ve never experienced the joy of biting into a Red Velvet Whoopie Pie, get ready for love at first bite. These little cake-like sandwiches, filled with silky cream cheese frosting, are the perfect blend of sweet, tangy, soft, and indulgent. With their vibrant red hue and deliciously rich cocoa flavor, red velvet whoopie pies are a festive favorite ideal for holidays, parties, or just because.
In this comprehensive guide, you’ll learn not only how to make these bakery-quality pies at home but also discover variations, helpful tips, serving ideas, and much more.
Whether you’re a seasoned baker or a beginner, this recipe will elevate your dessert game!
😍 Why You’ll Love This Recipe
- Bakery-style results at home
- Rich cocoa flavor with a hint of tanginess
- Moist, fluffy cake with creamy filling
- Perfect for gifting, celebrations, or indulgent snacks
- Easy to make with simple pantry ingredients
- Flexible for different flavor and color variations
🧺 What Do You Need to Prepare Red Velvet Whoopie Pies?
For the Red Velvet Cakes:
- 2 cups all-purpose flour
- ¼ cup unsweetened cocoa powder
- 1 tsp baking soda
- ½ tsp salt
- ½ cup unsalted butter, softened
- 1 cup light brown sugar
- 1 large egg
- 1 tsp vanilla extract
- 1 cup buttermilk
- 1 tbsp red food coloring (liquid or gel)
For the Cream Cheese Filling:
- ½ cup unsalted butter, softened
- 8 oz cream cheese, softened
- 3 cups powdered sugar
- 1 tsp vanilla extract
- Pinch of salt
📝 How to Make Red Velvet Whoopie Pies Step-by-Step?
Step 1: Preheat and Prep
Preheat your oven to 350°F (175°C). Line two baking sheets with parchment paper. This prevents sticking and ensures evenly baked pies.
Step 2: Sift and Combine Dry Ingredients
In a large bowl, sift together flour, cocoa powder, baking soda, and salt. Mix gently and set aside.
Step 3: Cream Butter and Sugar
In another bowl, beat the softened butter and brown sugar together using a mixer until fluffy (about 2–3 minutes). Add in the egg and vanilla extract, and beat again until well combined.
Step 4: Mix the Wet and Dry Ingredients
Gradually add the dry ingredients to the butter mixture, alternating with buttermilk. Add red food coloring and mix just until the batter turns vibrant red. Avoid overmixing.
Step 5: Bake the Cake Rounds
Using a small cookie scoop or tablespoon, place even rounds of batter on the baking sheets, spacing them 2 inches apart. Bake for 10–12 minutes or until the cakes spring back when touched. Let them cool completely before assembling.
Step 6: Make the Cream Cheese Filling
Beat butter and cream cheese until smooth. Add powdered sugar one cup at a time, then vanilla and salt. Beat until light, fluffy, and smooth.
Step 7: Assemble the Whoopie Pies
Once the cake rounds are cool, pipe or spoon the cream cheese filling onto the flat side of one round. Top with another round to create a sandwich. Press gently.
🌀 Variations
Red velvet whoopie pies are versatile, and you can have fun switching things up based on your mood or occasion. For a chocolate twist, add mini chocolate chips to the batter. Prefer a different filling? Swap out cream cheese for marshmallow fluff or vanilla buttercream.
Make them holiday-themed by using heart-shaped molds for Valentine’s Day or sprinkle crushed peppermint over the filling for Christmas. You can also tint the batter green for St. Patrick’s Day or pink for Easter. Want to go gluten-free? Use a 1:1 gluten-free flour blend. Dairy-free? Substitute with plant-based milk, vegan butter, and dairy-free cream cheese.
Want a crunch factor? Roll the edges in chopped pecans, mini chocolate chips, or rainbow sprinkles for fun texture. You can even create a lemon red velvet version by adding a splash of lemon zest and juice to the filling for a tangy pop.
Mini whoopie pies are perfect for parties, and jumbo-sized ones make a fantastic dessert centerpiece. These customizations not only make the dessert more personal but also fun for every occasion!
🍳 Cooking Note
Baking perfect whoopie pies is all about consistency and technique. Ensure your butter and cream cheese are softened properly—this creates a smooth, lump-free batter and filling. Use room temperature eggs and buttermilk for better mixing and fluffier results.
Don’t overmix your batter once the dry and wet ingredients are combined. Overmixing can create tough cakes. A cookie scoop ensures evenly-sized pies for a professional look and balanced filling-to-cake ratio.
Watch the baking time carefully. The cakes should be soft and just baked—overbaking leads to dryness. Let them cool fully on a wire rack to avoid melting the filling during assembly.
When it comes to piping the filling, use a piping bag for neat results. If you’re storing the pies, keep them in an airtight container in the fridge, but allow them to come to room temperature before serving to enjoy the best texture.
Freezing tip: Wrap each assembled pie in plastic wrap and freeze for up to 2 months. Thaw overnight in the refrigerator and enjoy!
These tips will help you master red velvet whoopie pies with ease and confidence every single time.
🍽️ Serving Suggestions
Red velvet whoopie pies are a delightful treat served with a tall glass of cold milk or a warm mug of coffee. For a dessert platter, pair them with chocolate-dipped strawberries or mini cheesecakes.
At parties or gatherings, place them in decorative cupcake liners for a charming presentation. They also make excellent edible gifts—wrap in clear cellophane with a ribbon or place in gift boxes for holidays and birthdays.
Hosting a tea party or brunch? Serve these alongside mini muffins and scones for a colorful, indulgent spread. You can even create an ice cream sandwich version by replacing the cream cheese filling with your favorite ice cream flavor.
Kids will love decorating the edges with sprinkles or crushed cookies. The possibilities are endless when it comes to enjoying these delightful treats!
🧠 Helpful Tips
- Use parchment paper: Prevents sticking and makes cleanup easy.
- Don’t skip the buttermilk: It gives the pies their signature tang and tender texture.
- Let cakes cool completely: This prevents the filling from melting and oozing out.
- Use a cookie scoop: Ensures even-sized whoopie pies for uniform baking.
- Store properly: Keep in an airtight container in the fridge to maintain freshness.
- Use gel food coloring: For a more vibrant red color with less liquid.
- Chill the filling: A slightly chilled filling makes assembling easier.
- Don’t overbake: Slightly underbaked is better than overbaked to maintain softness.
- Frosting too runny? Add more powdered sugar or chill slightly before use.
- Get creative: Add different flavors or toppings to make them your own.
Mastering red velvet whoopie pies becomes easy when you pay attention to these small but impactful baking details.
🎯 Tips for the Best Red Velvet Whoopie Pies
To achieve the best red velvet whoopie pies:
- Measure ingredients accurately using a kitchen scale for precision.
- Soften ingredients naturally, don’t microwave them. This keeps the texture intact.
- Use high-quality cocoa powder for that rich chocolate flavor.
- Pipe the batter onto the sheet for even shapes and size consistency.
- Chill the cream cheese filling before using—it helps with clean sandwiching.
- Pair evenly sized cakes when assembling, for visual appeal and balanced bites.
- Serve at room temperature to enjoy the full flavor and softness.
A little extra care goes a long way in making bakery-level whoopie pies at home.
⏱️ Timing Overview
- Prep Time: 20 minutes
- Cooking Time: 10–12 minutes
- Total Time: ~35 minutes (plus cooling)
🧾 Nutritional Information (per whoopie pie, approx.):
- Calories: 330 kcal
- Protein: 3g
- Sodium: 150mg
❓ FAQs
Q: Can I make red velvet whoopie pies ahead of time?
Yes! You can make them 1–2 days in advance and store them in the fridge. Let them sit at room temperature before serving.
Q: Can I freeze red velvet whoopie pies?
Absolutely. Wrap each individually and freeze for up to 2 months. Thaw before serving.
Q: What can I use instead of buttermilk?
Mix 1 cup of milk with 1 tbsp vinegar or lemon juice. Let sit for 5 minutes before using.
Q: Why are my whoopie pies flat?
This can happen if the batter is overmixed or the baking soda is expired.
Q: Can I double the recipe?
Yes, this recipe doubles easily for large batches.
🎉 Conclusion
Red Velvet Whoopie Pies are the ultimate fusion of cake and cookie with a creamy, dreamy center. Whether you’re baking for the holidays, a birthday party, or a sweet craving, this dessert is guaranteed to impress. With easy-to-follow steps, customizable options, and crowd-pleasing flavor, this recipe will become your new favorite go-to.
Whip up a batch today and watch them disappear fast!
PrintRed Velvet Whoopie Pies
- Total Time: ~35 minutes (plus cooling)
Ingredients
For the Red Velvet Cakes:
- 2 cups all-purpose flour
- ¼ cup unsweetened cocoa powder
- 1 tsp baking soda
- ½ tsp salt
- ½ cup unsalted butter, softened
- 1 cup light brown sugar
- 1 large egg
- 1 tsp vanilla extract
- 1 cup buttermilk
- 1 tbsp red food coloring (liquid or gel)
For the Cream Cheese Filling:
- ½ cup unsalted butter, softened
- 8 oz cream cheese, softened
- 3 cups powdered sugar
- 1 tsp vanilla extract
- Pinch of salt
Instructions
Step 1: Preheat and Prep
Preheat your oven to 350°F (175°C). Line two baking sheets with parchment paper. This prevents sticking and ensures evenly baked pies.
Step 2: Sift and Combine Dry Ingredients
In a large bowl, sift together flour, cocoa powder, baking soda, and salt. Mix gently and set aside.
Step 3: Cream Butter and Sugar
In another bowl, beat the softened butter and brown sugar together using a mixer until fluffy (about 2–3 minutes). Add in the egg and vanilla extract, and beat again until well combined.
Step 4: Mix the Wet and Dry Ingredients
Gradually add the dry ingredients to the butter mixture, alternating with buttermilk. Add red food coloring and mix just until the batter turns vibrant red. Avoid overmixing.
Step 5: Bake the Cake Rounds
Using a small cookie scoop or tablespoon, place even rounds of batter on the baking sheets, spacing them 2 inches apart. Bake for 10–12 minutes or until the cakes spring back when touched. Let them cool completely before assembling.
Step 6: Make the Cream Cheese Filling
Beat butter and cream cheese until smooth. Add powdered sugar one cup at a time, then vanilla and salt. Beat until light, fluffy, and smooth.
Step 7: Assemble the Whoopie Pies
Once the cake rounds are cool, pipe or spoon the cream cheese filling onto the flat side of one round. Top with another round to create a sandwich. Press gently.
- Prep Time: 20 minutes
- Cook Time: 10–12 minutes
- Category: Dessert
- Cuisine: Americans
Nutrition
- Calories: 330 kcal
- Sodium: 150mg
- Protein: 3g
Keywords: Red Velvet Whoopie Pies